Setting up Yamaha SWP1 series
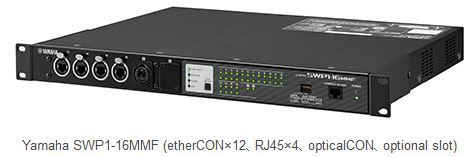
In this chapter, we will use the Yamaha SWP1-16MMF as an example of the configuration procedures for setting up a network switch. A single DIP switch on the SWP1-16MMF can be switched to optimize the network settings for a Dante network. 8-port models (SWP1-8, SWP1-8MMF, etc.) are also available, according to the network size.
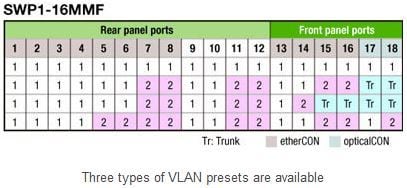
This switch also features three types of VLAN presets, which can be easily switched using a DIP switch. The USER mode that will be explained later can be used to make detailed VLAN settings and so on via the Web GUI.

After setting the DIP switch and rebooting the unit, the switch’s settings will be optimized for Dante.
The following setup procedures were performed using SWP1-16MMF firmware version 2.01.04. The default settings, and the like, may vary depending on the firmware version that you are using.
Switch settings
First, confirm that the switch’s DIP switch “1” is set to “DANTE”. The “2” and “3” settings are used to select the VLAN preset. After starting the switch in DANTE mode, the settings will start in an initialized state every time. On the other hand, when you want the changed switch settings (such as customized VLAN settings) to be reflected even after the unit is booted up, you will need to boot the switch up in USER mode.
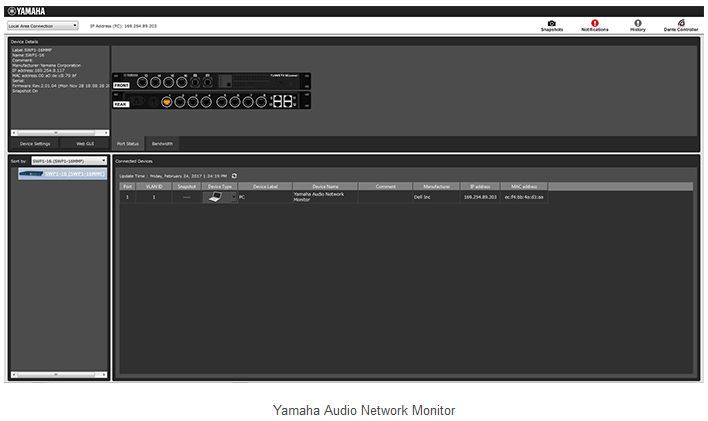
The simplest way to configure a switch is to access it from Yamaha Network Audio monitor on a PC. You can use this software to monitor the SWP1 Series information from your computer, as well as the entire network including all Dante-compatible devices on the Dante network.
When you start the software, the SWP1 will be automatically recognized. Click the icon. If the SWP1 is not automatically recognized, check whether the network adapter at upper left has been correctly selected.
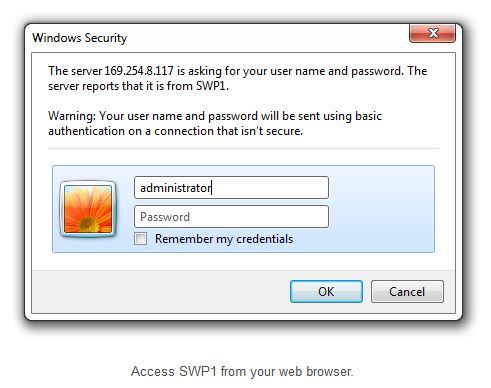
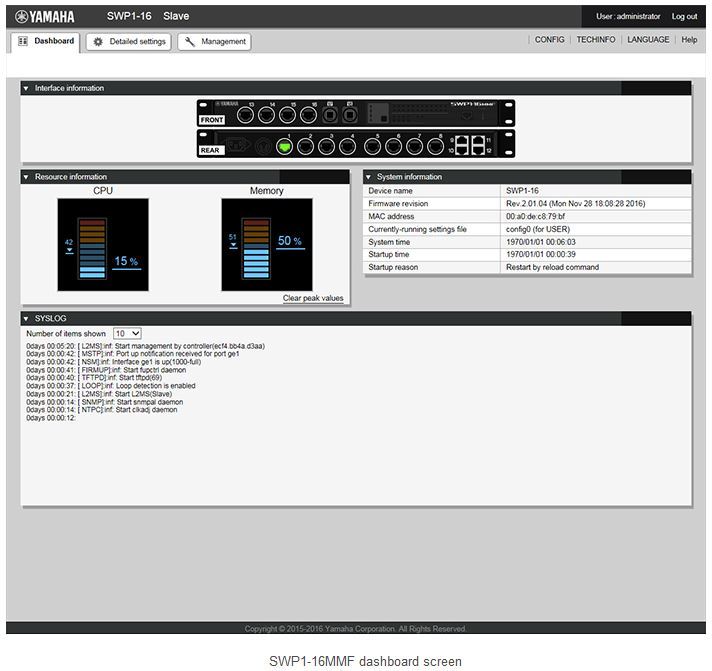
Click “Web GUI” to launch the browser. Leave the password blank, and type the user name “administrator” to login.
Check the firmware version. We recommend that you update the firmware as necessary. Go to the Yamaha website to find out what the latest version of the firmware is.
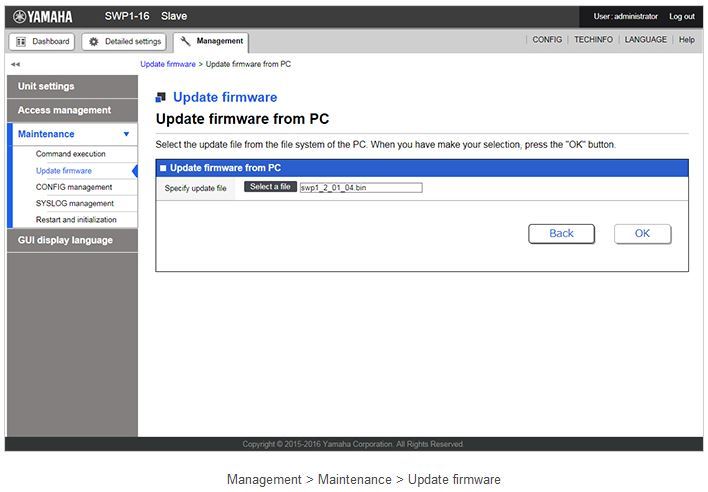
You can update the firmware by navigating to the following page. Before you update the firmware, be sure to download the firmware file from the Yamaha website. After the firmware has been uploaded to the switch, the switch will automatically reboot.
The preparations for configuring the network switch are now complete.