Support for Dolby Vision and Hybrid Log-Gamma (HLG) announced for select AV Receiver models
Yamaha is proud to announce the release of a firmware update making it possible for select models in the AV Receiver range to support Dolby Vision and Hybrid Log-Gamma (HLG).
Bringing picture quality to a whole new level, Dolby Vision and HLG bring an unprecedented sense of realism to movies with true-to-life colour, contrast and brightness.
Compatible models:
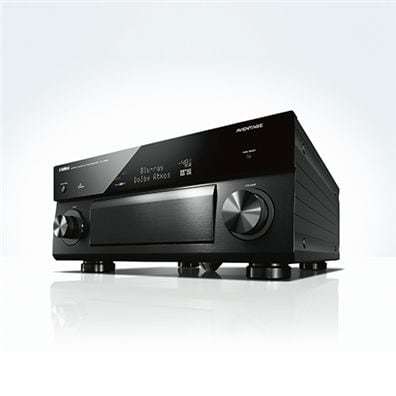
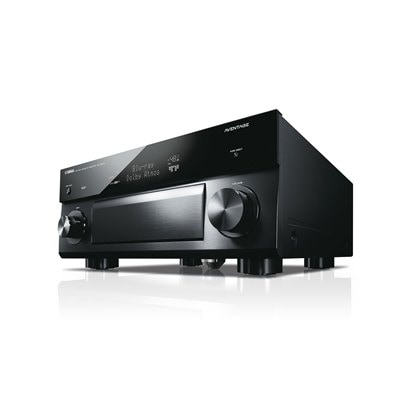
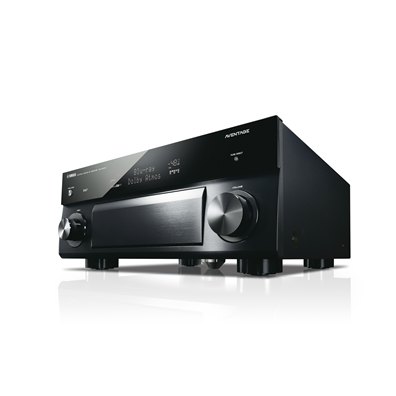
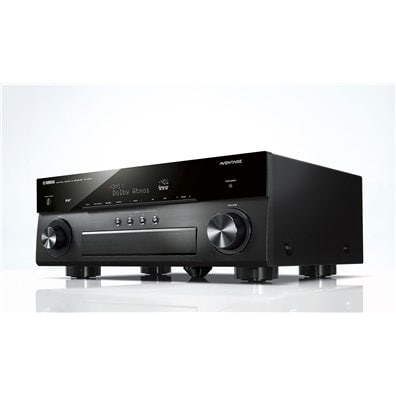
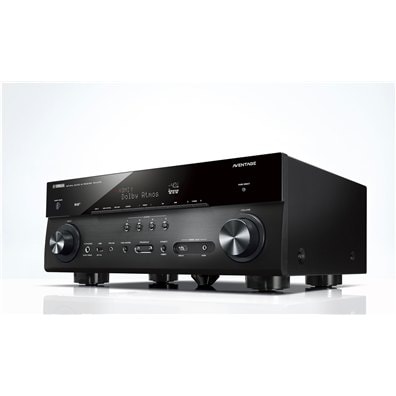
- AVENTAGE Separate Components: CX-A5100 Pre-amplifier
- AVENTAGE Series 8: RXA770, RXA870, RXA1070, RXA2070, RXA3070
- AVENTAGE Series 7: RXA760, RXA860, RXA1060, RXA2060, RXA3060
- ’83 Series: RXV383/HTR3071 (via USB firmware update only), RXV483/HTR4071, RXV583/HTR5071, RXV683, RXV1083, RXV2083, RXV3083
- ’81 Series: RXV681, RXV781, RXV1081, RXV2081, RXV3081
How to check if your firmware is up-to-date?
How to check if your firmware is up-to-date?
Before updating your firmware, it’s best to check the current version on your AV Receiver.
To do this, press the ON SCREEN button on your remote control.
Select “Information”, then “System”.
The current firmware version is displayed on your TV.
If the firmware version is 1.09 or higher, the AV Receiver is already up-to-date.
If not, perform the firmware update by following the instructions below.
Updating the firmware
Updating the firmware
Requirement: Ensure your AV Receiver has a working Internet connection (you can test this by listening to Internet Radio).
- Put the AV Receiver into Standby mode by pressing the Power button (ie- turn it off)
- Hold down the STRAIGHT button on the front of the AV Receiver (depending on model, this may be behind the front panel door) and press the Power button
- From the ADVANCED SETUP menu, use the Program arrow buttons to select FIRM UPDATE or UPDATE
- Press the STRAIGHT button until NETWORK is displayed
- Press the INFO button to start the firmware update
- Wait until UPDATE SUCCESS is displayed. This process may take up to 15 minutes. Do not interrupt or turn off the AV Receiver during this process.
- Once UPDATE SUCCESS is displayed, turn off the AV Receiver to exit the ADVANCED SETUP menu.
- Congratulations. Your AV Receiver is now updated. Turn on the AV Receiver to operate as normal.