

The Basics Of Piano Keyboard Fingering
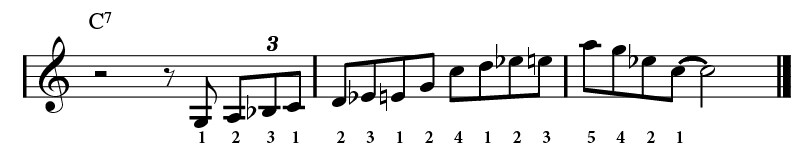
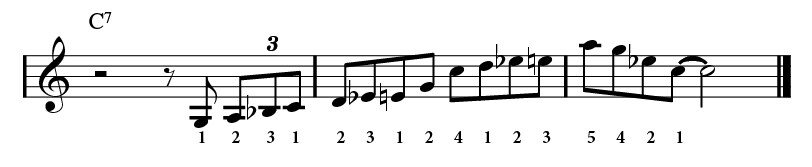
It’s important when learning a new piece of music to plan out your keyboard fingering ahead of time — to decide which fingers you will use to play each note, and how you will move your hand position to cover passages that don’t fit underneath a single location. If you don’t take this important step, you may find yourself unconsciously changing your fingering decisions each time you play a piece of music, which in turn won’t allow the repetition of practice to help you develop proficiency in performance.
Here are some tips for making good choices.
The Basics
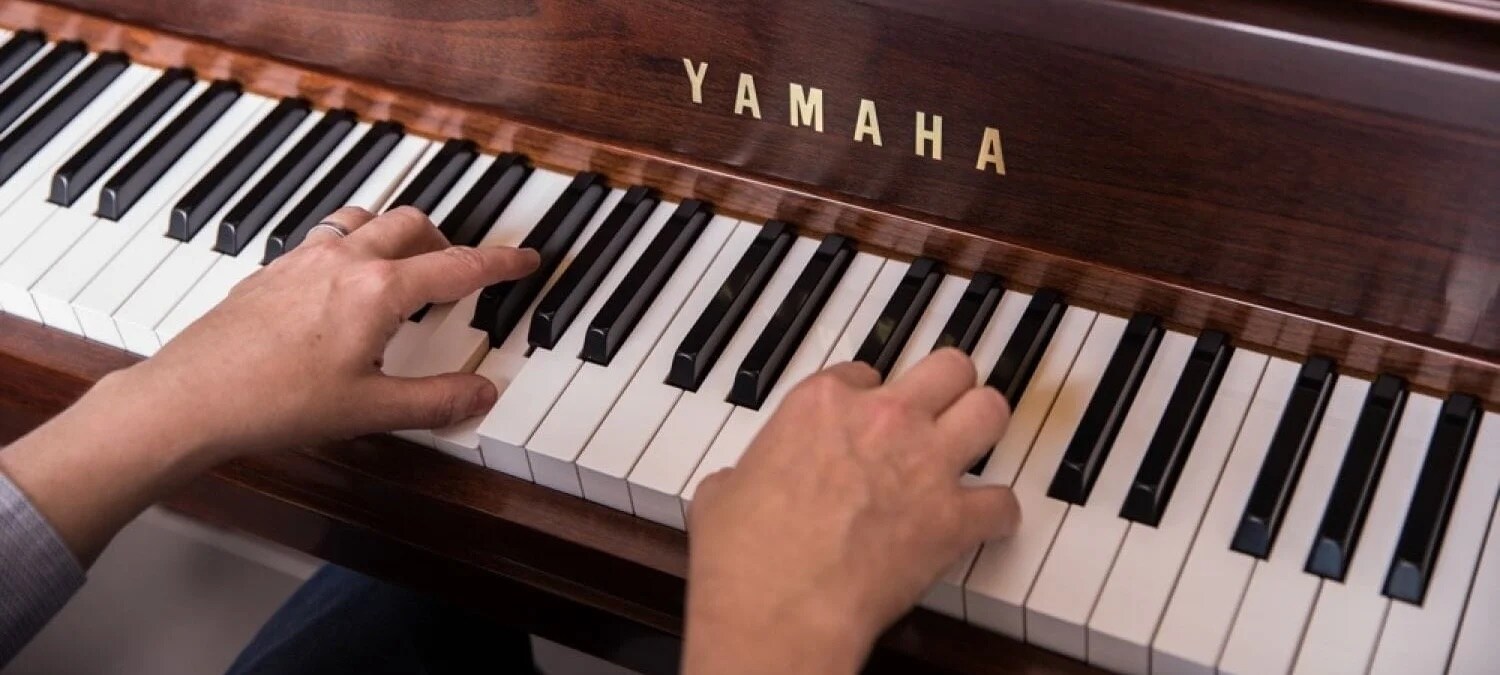
Piano keyboard fingering is commonly numbered as follows:
- The thumb is numbered as 1
- The index, or pointer finger, as 2
- The middle finger as 3
- The ring finger as 4
- The pinky as 5
Some players feel that rules are made to be broken, but there are four best practices for piano keyboard fingering that you should follow:
- In general, don’t use your thumb on black keys. Doing so moves your hand forward (away from you and closer to the back of the keyboard), which makes it harder to control the white keys. The exception is if you are learning a piece of music that starts on a black key and/or is predominately played on the black keys, in which case you will almost certainly have to use your thumb.
- Try to use as many of your fingers as possible when executing passages. It’s tempting to only use the first two or three fingers, which tend to be the strongest, but the more fingers you utilize, the smoother your playing.
- Similarly, try to keep your hand in a position that covers as many of the notes in the passage as possible. Think of it as economy of motion: no need to move around more than necessary just because you couldn’t cover one note at the end of a phrase.
- If you have never studied how to play scales in basic piano lessons/pedagogy, it would be good to work on this keyboard fundamental. The fingerings and technique you learn will be very helpful in figuring out how to execute new music.
Most musical passages you will encounter can be broken down into one of three scenarios. Let’s explore each in turn.
Scenario One: Everything Fits Under Your Fingers
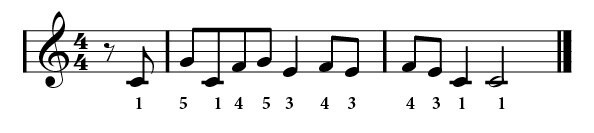
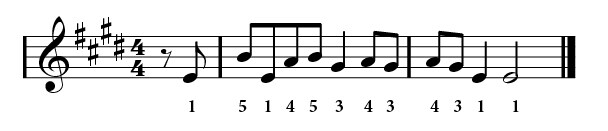
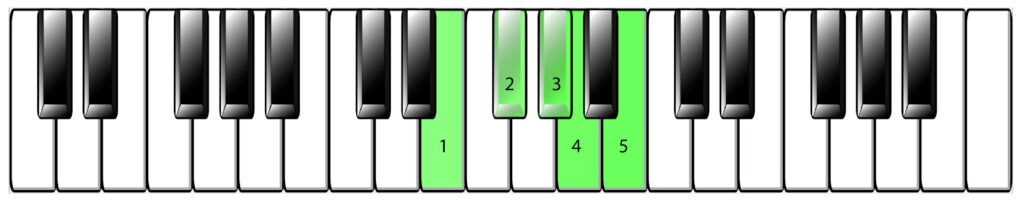
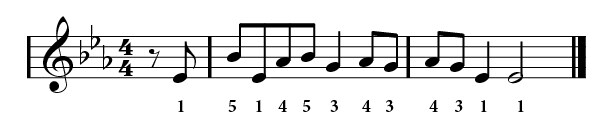
In this scenario, the notes of the phrase all fit easily underneath your five fingers. The fingering for this is easy: just place your hand over the range of notes and play accordingly.


Scenario Two: The Need to Stretch


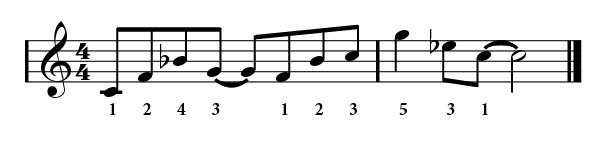
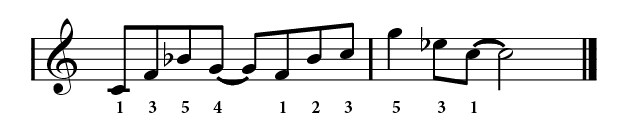
Scenario Three: A Change in Hand Position Is Necessary




Scenario Four: Long Ascending Lines
Scenario Four: Long Ascending Lines