Yamaha Clavinova Tutorials
Using the Score Editor
You can download PDF’s or Dorico scores to play along with the tutorial. The Dorico file is completely editable. You can download the free Dorico SE advanced music notation software from the Steinberg website
Download PDF Scores Download Dorico FilesTranscript / Instructions
Let’s use the inbuilt score display on the CVP Clavinova to check our accuracy.
I’m Christina Kay a piano teacher, and today we’ll explore how we can use the Clavinova as an educational tool to help discover errors in our playing. We can also correct these mistakes to create a perfect performance, and for a bit of fun we can add a backing band to take our recording to the next level.
Feel free to follow along if you have a Clavinova CVP 600 series and up you can also download the sheet music (see above) and play along.
Recording Our Playing and Viewing the Score
The first step is to record our playing.
- Turn on the Clavinova.
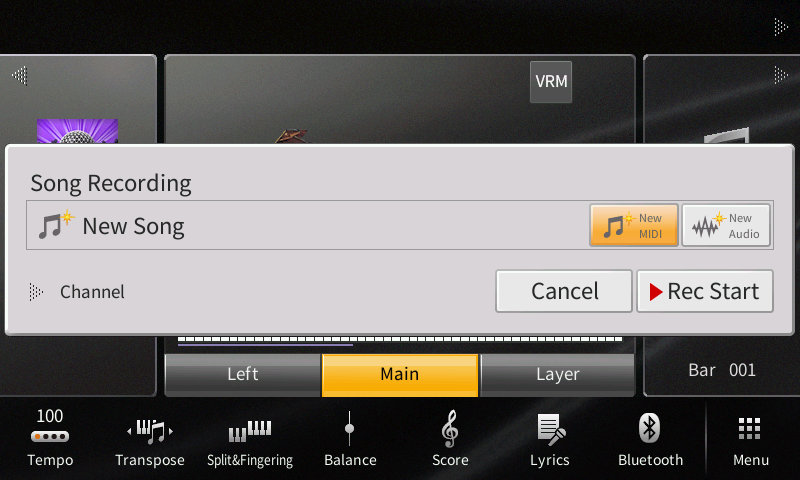
- Press RECORD in the song control area.
- Turn on the metronome by pressing METRONOME ON/OFF.
- Play the piece.
- Press STOP to end the recording.
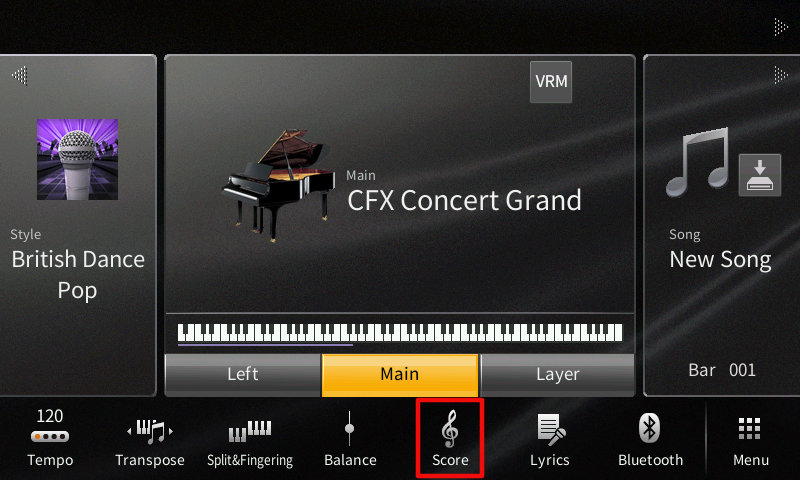
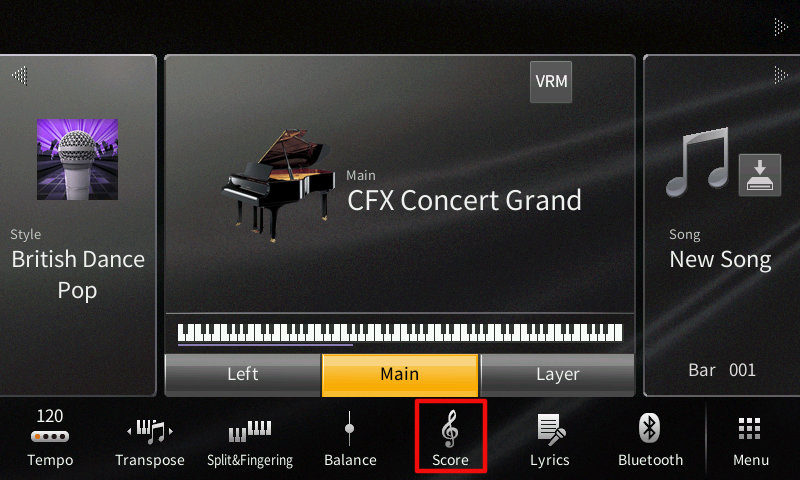
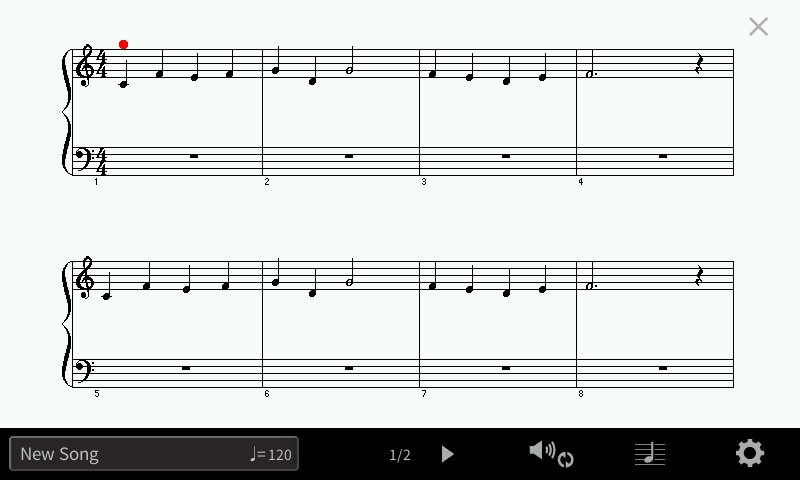
- Touch Score to look at the sheet music of your recording.
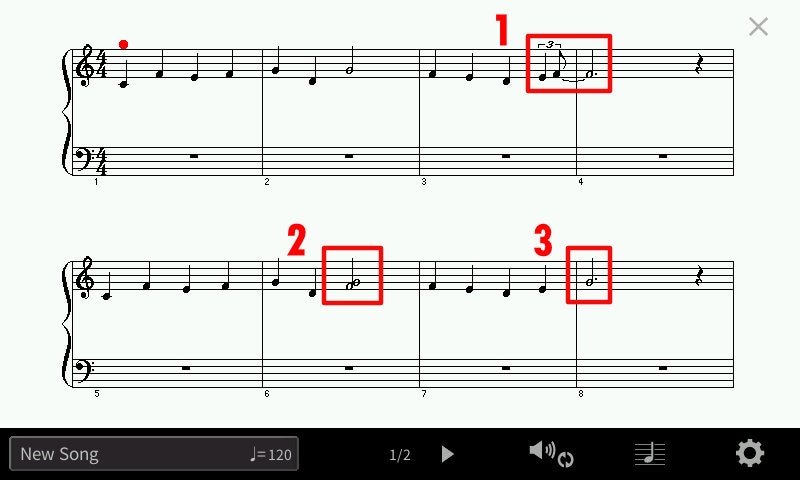
- You can see my first mistake was a rhythmical error at the end of bar 3. My second slip was 2 notes played at once, and my final error was a wrong note at the very end.
Correcting timing
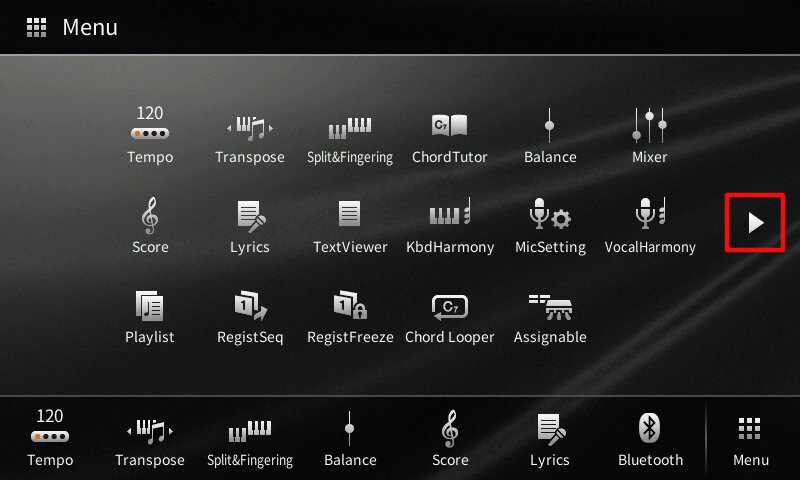
- Press the HOME button.
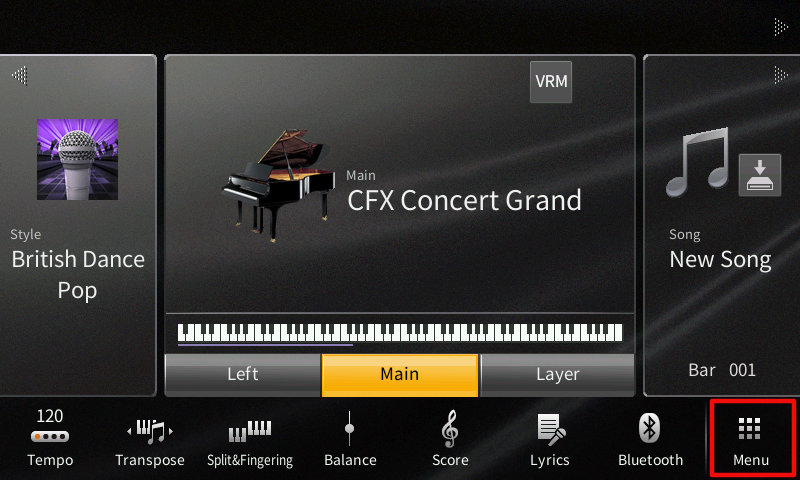
- Touch Menu.
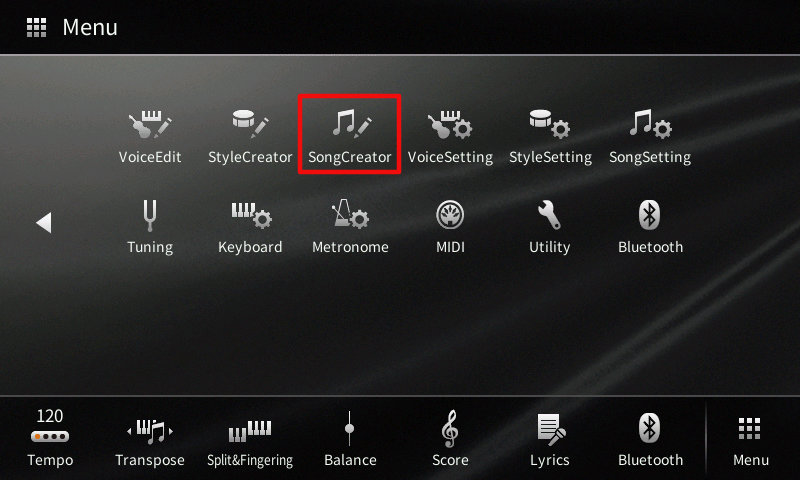
- Touch the right arrow to go to page 2 Menu.
- Touch Song Creator.
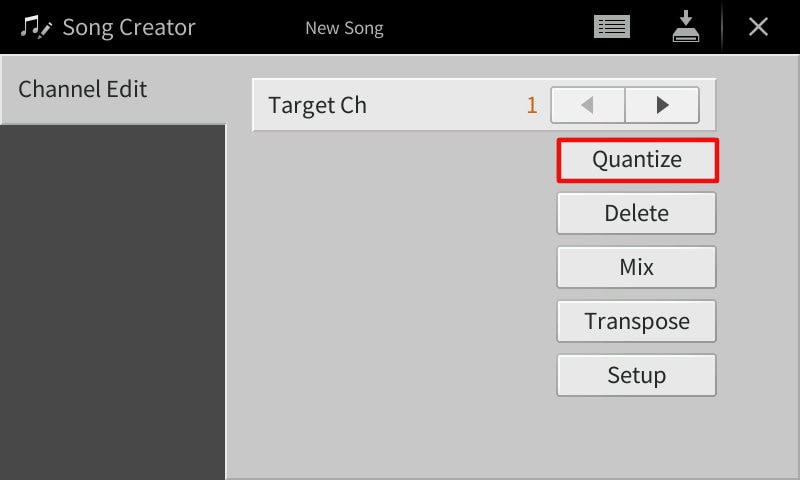
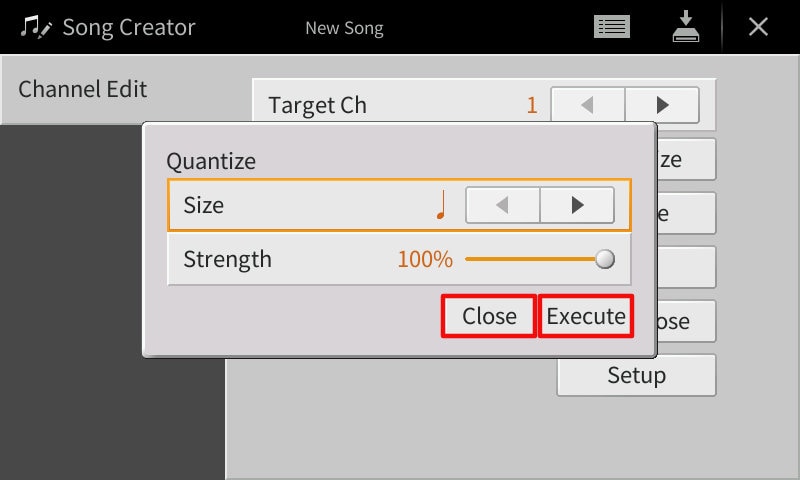
- Touch Quantize.
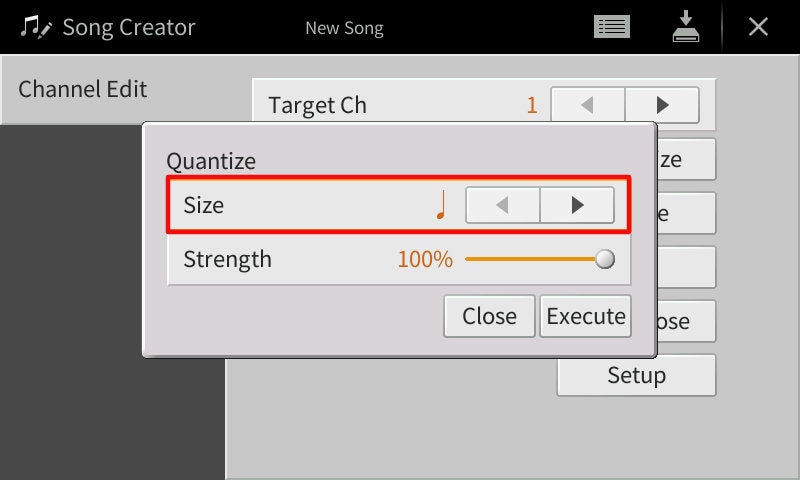
- Change the size to a crotchet/quarter note.
- Touch Execute and then Close.
Correcting Note Slips and Viewing the Corrected Score
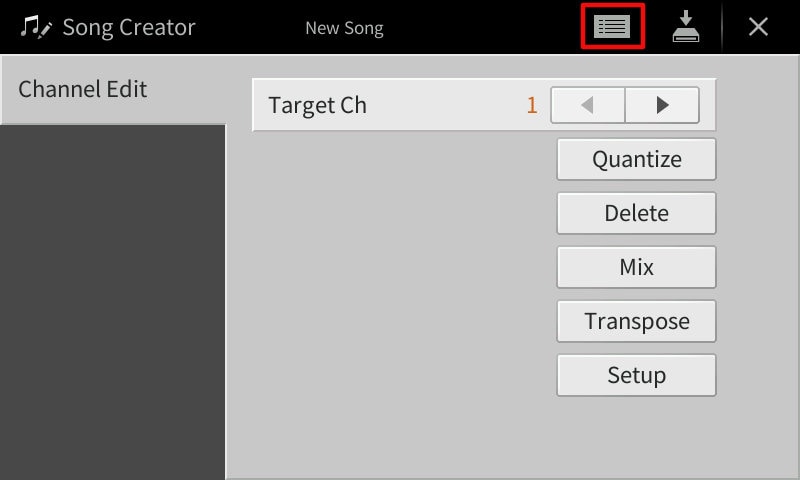
- Touch the Edit icon at the top of the Song Creator screen.
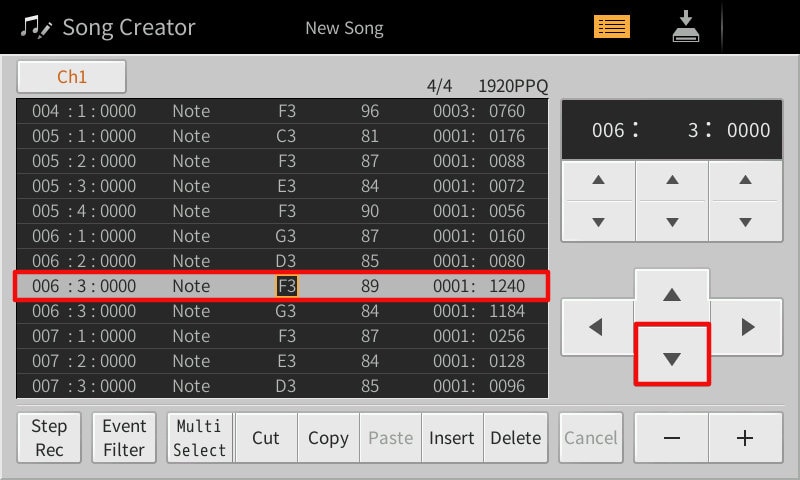
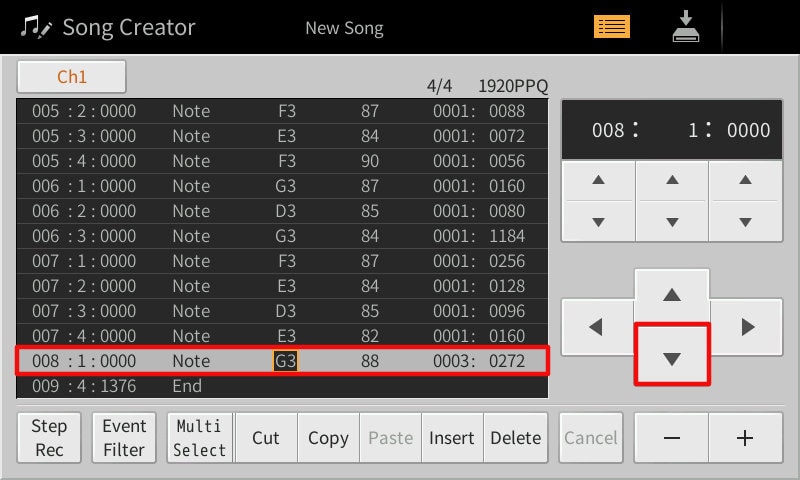
- Arrow down to the incorrect note, in my case it was F3 bar 6, beat 3.
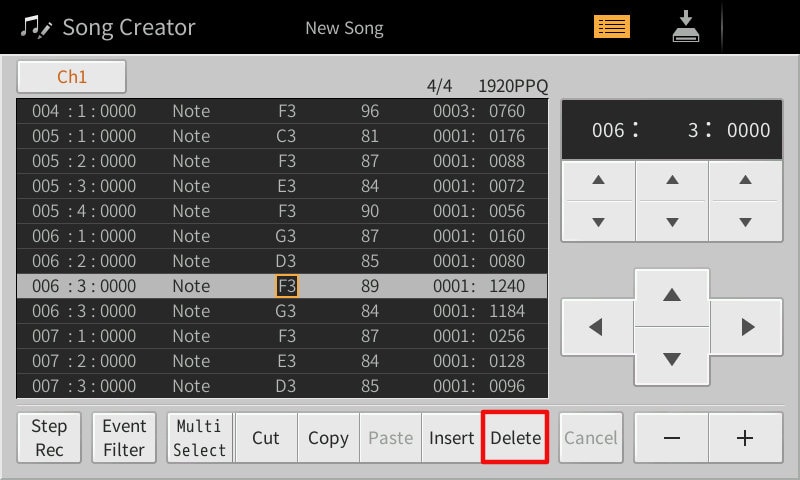
- Touch Delete.
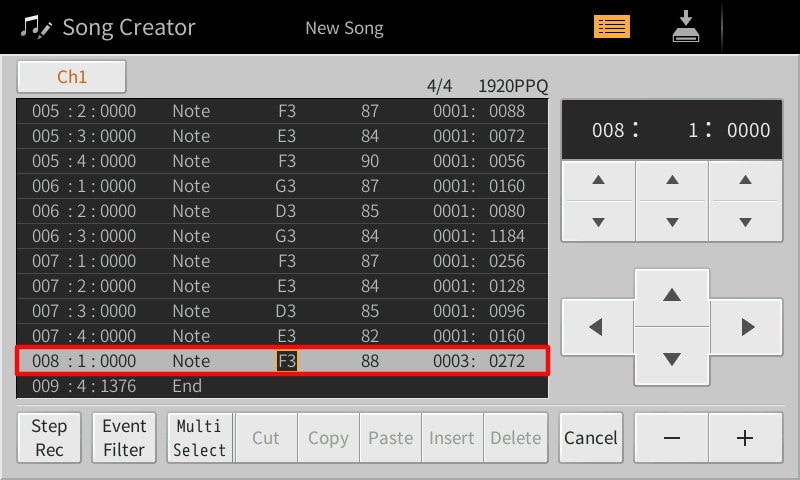
- Continue arrowing down to any other wrong notes, in my case G3 in bar 8 beat 1 and to make it the correct pitch I touch the minus twice to change the note to F3.
- Touch Score.
- We can see the corrected notation on the Clavinova.
Adding a Backing Band to the Recording
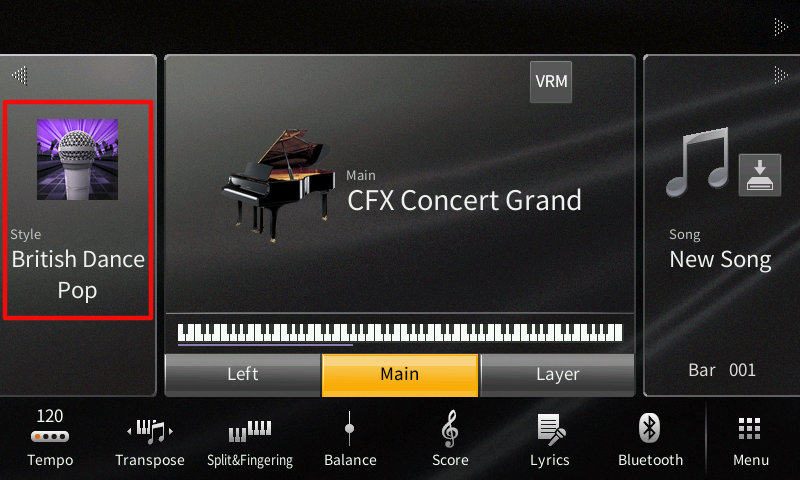
- Touch in the Style area.
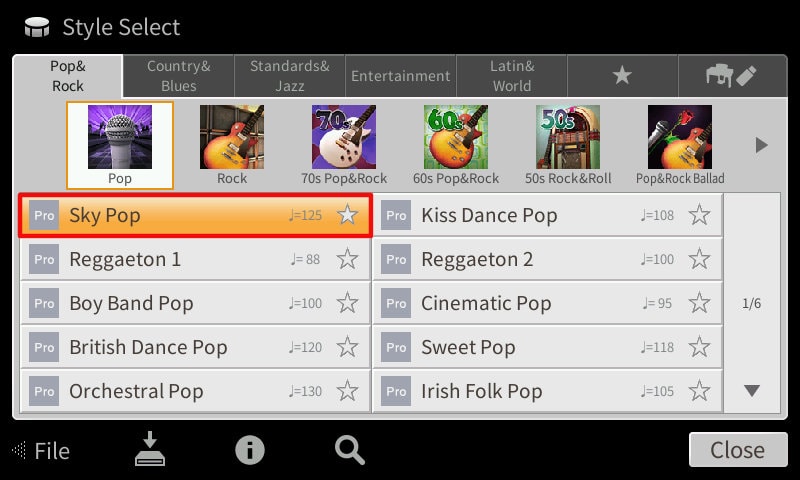
- Touch Sky Pop.
- Turn the ACMP and AUTO FILL-IN on.
- Press SYNC START.
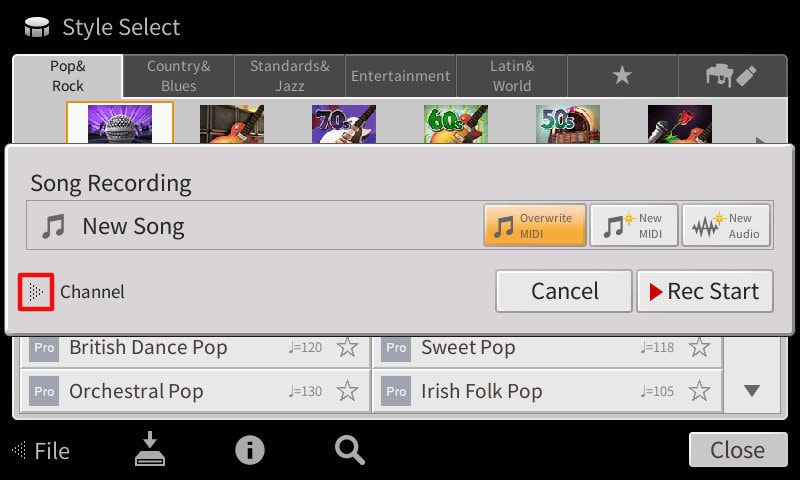
- Press RECORD.
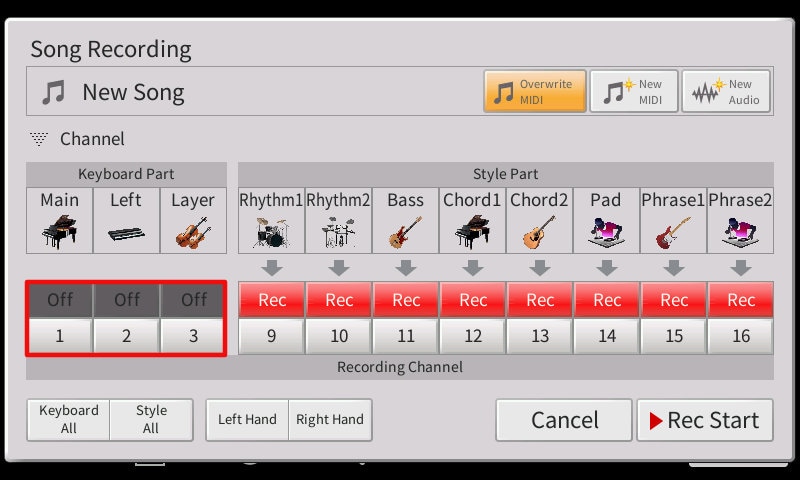
- Touch the arrow to the left of Channel.
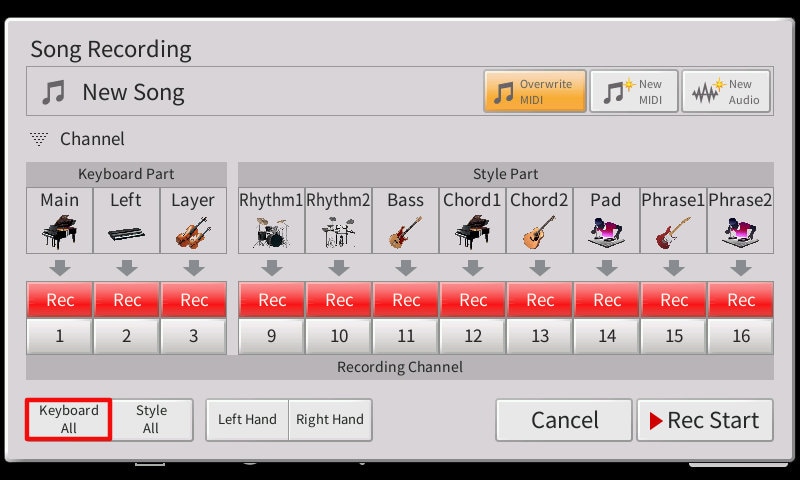
- To record the backing band only, we touch Keyboard All to turn off the keyboard part.
- Play the left hand chords and to finish press ENDING I.
- Press STOP.
Saving Your Edited Piece
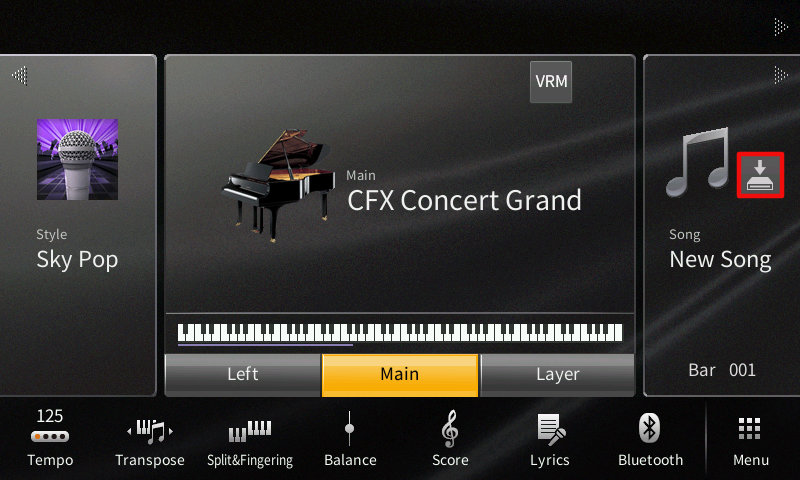
- Touch the Save icon.
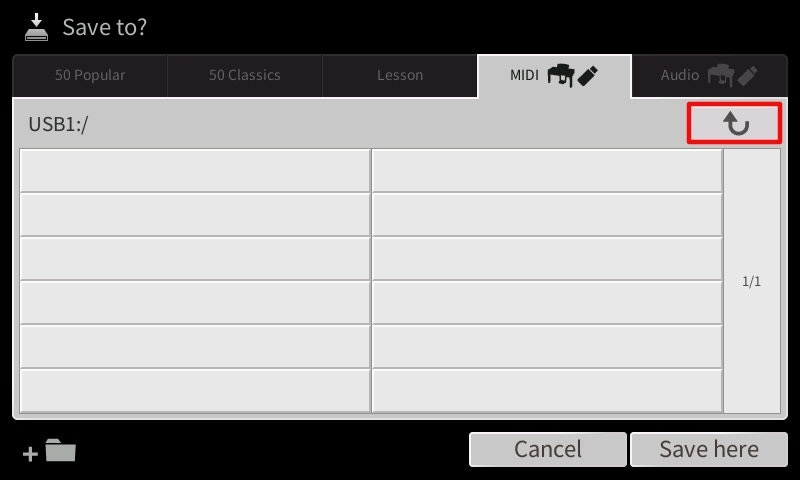
- Go back to the User drive – select the Up arrow.
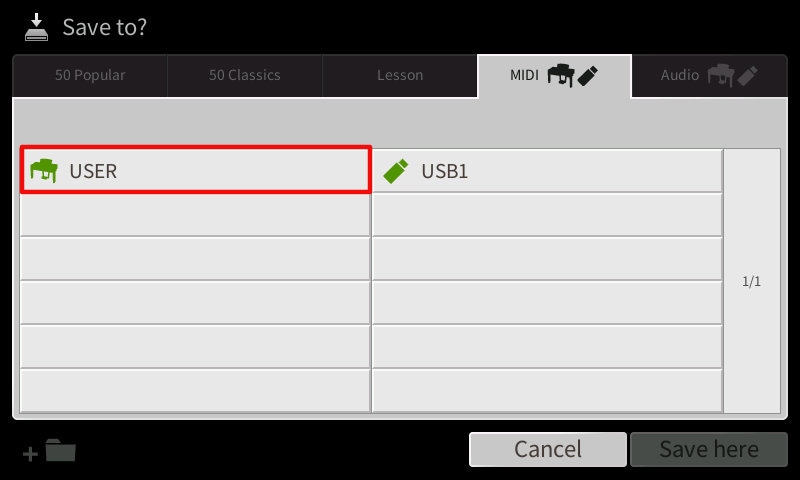
- Select the User drive.
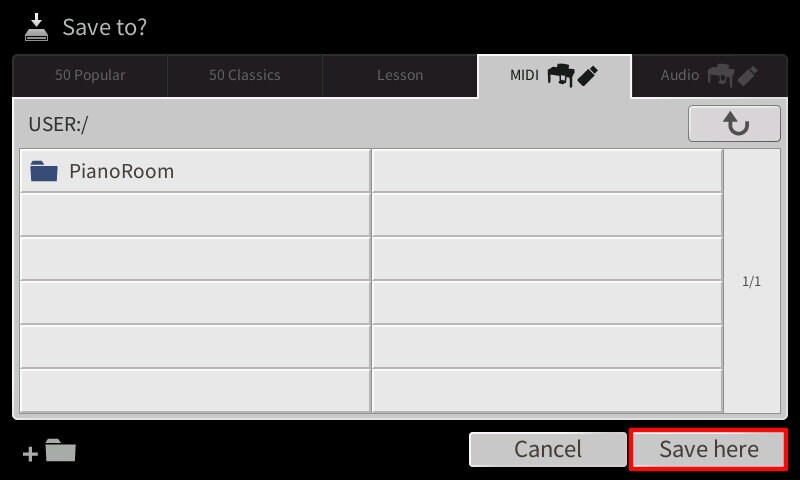
- Touch Save Here.
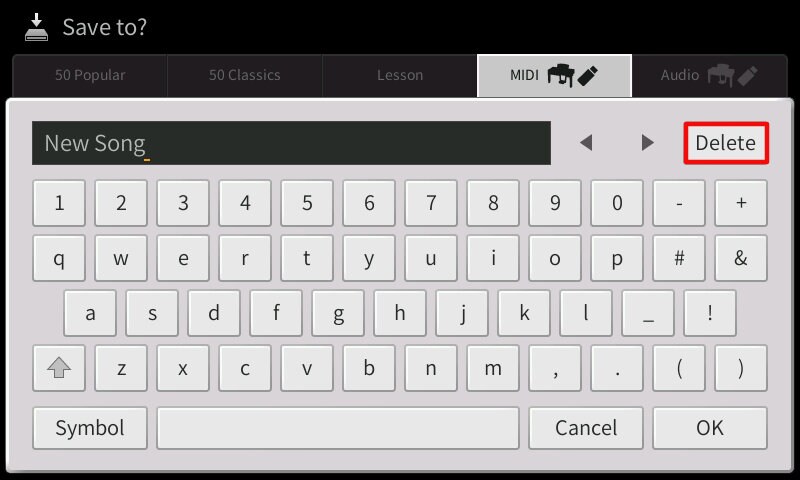
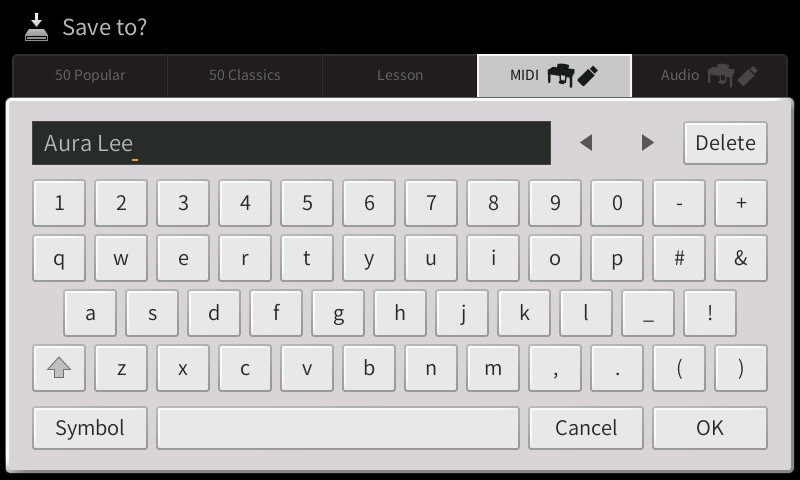
- Touch and hold Delete then enter the name of the piece.
- Touch OK.
